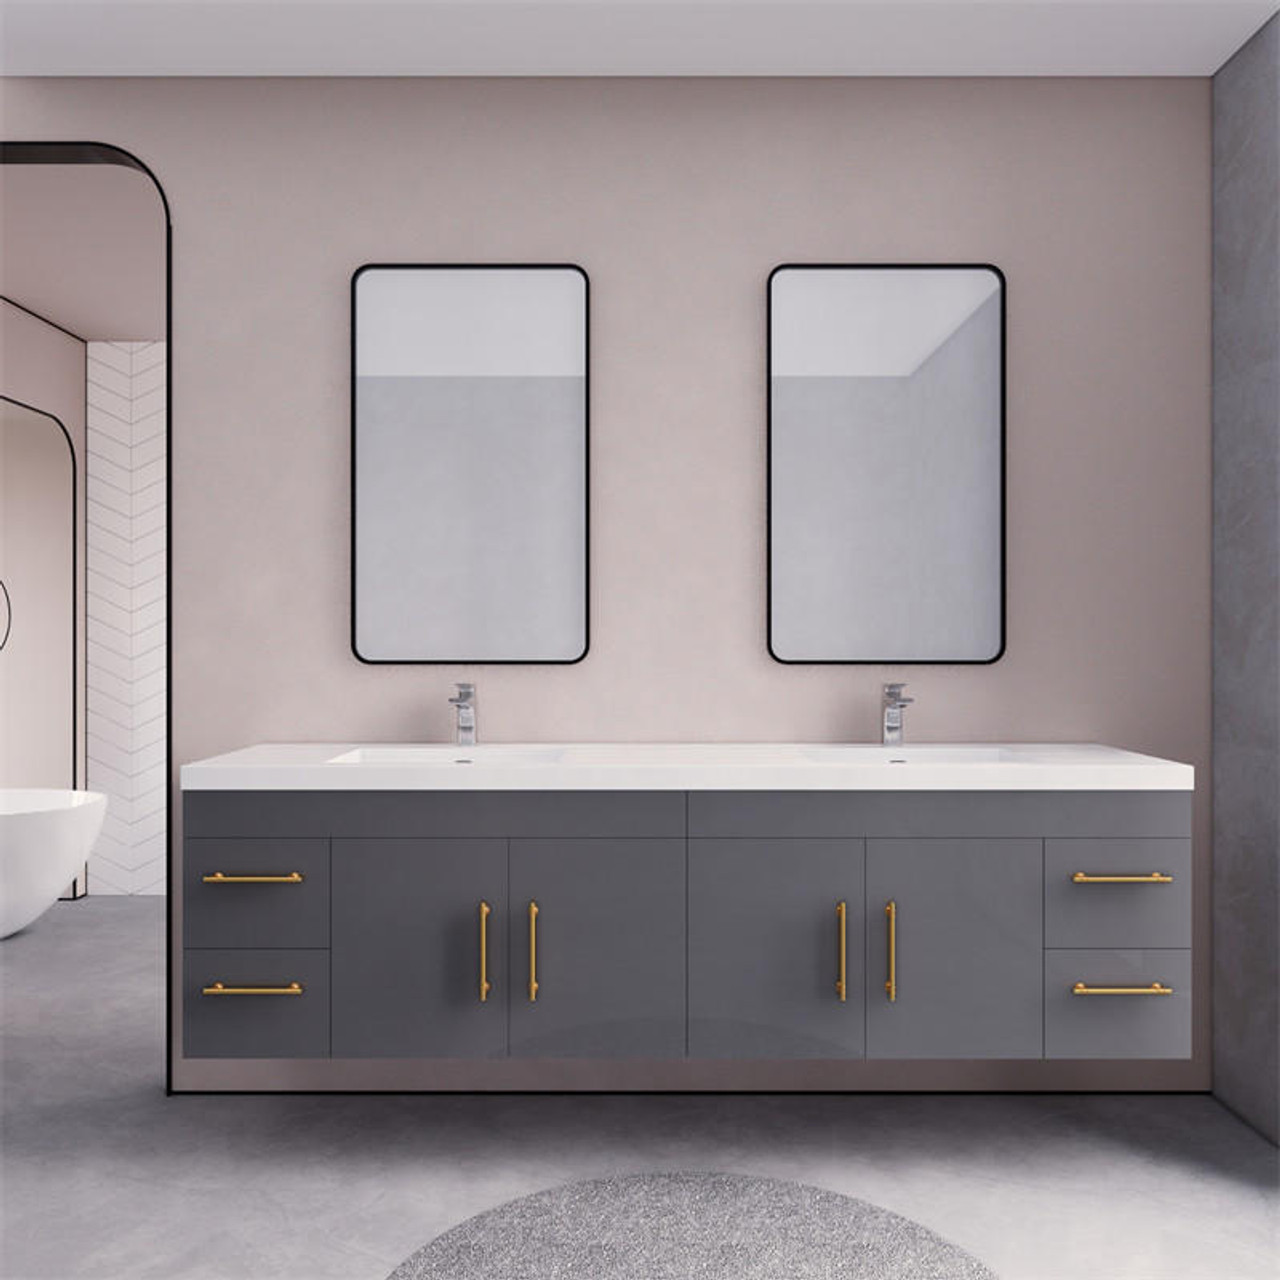
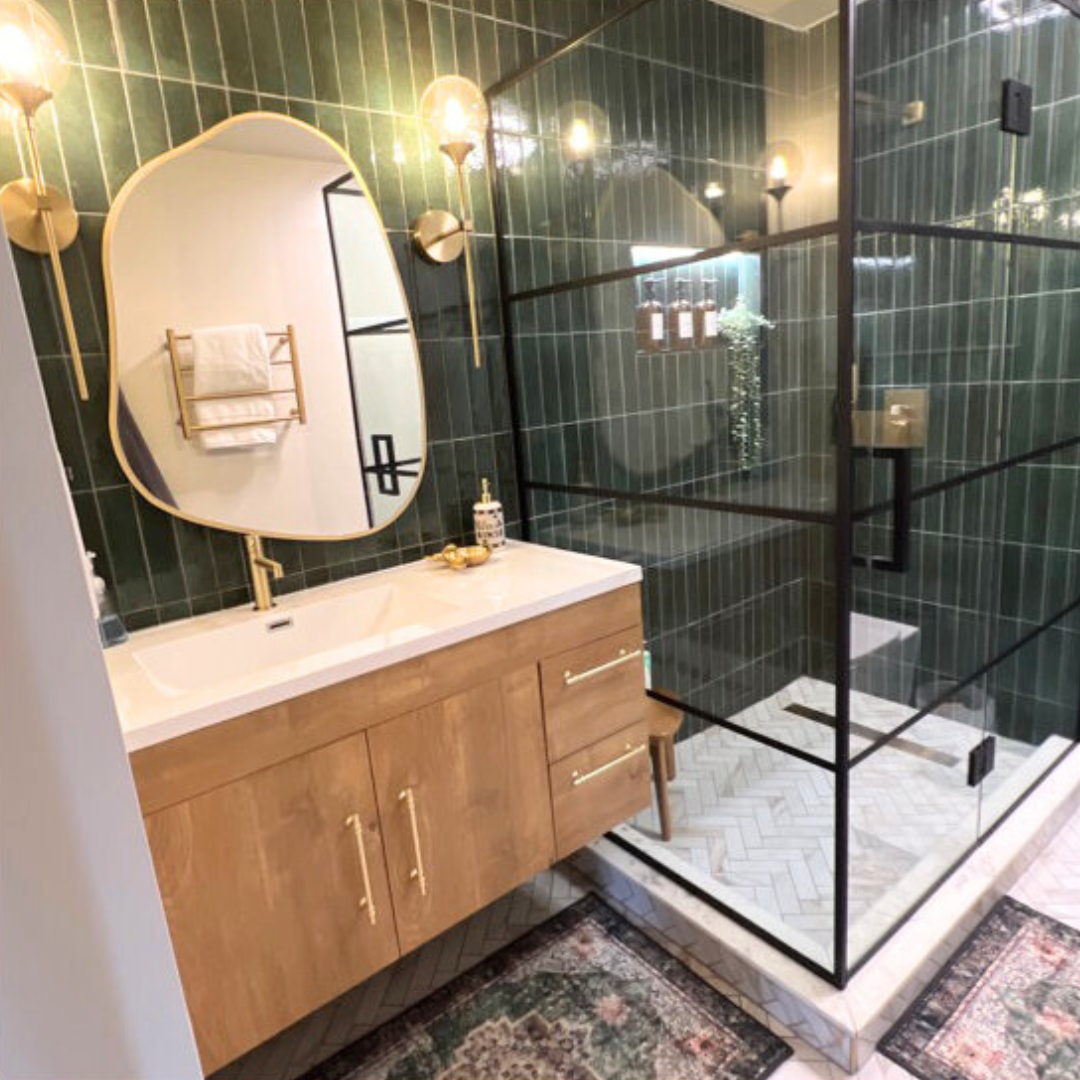
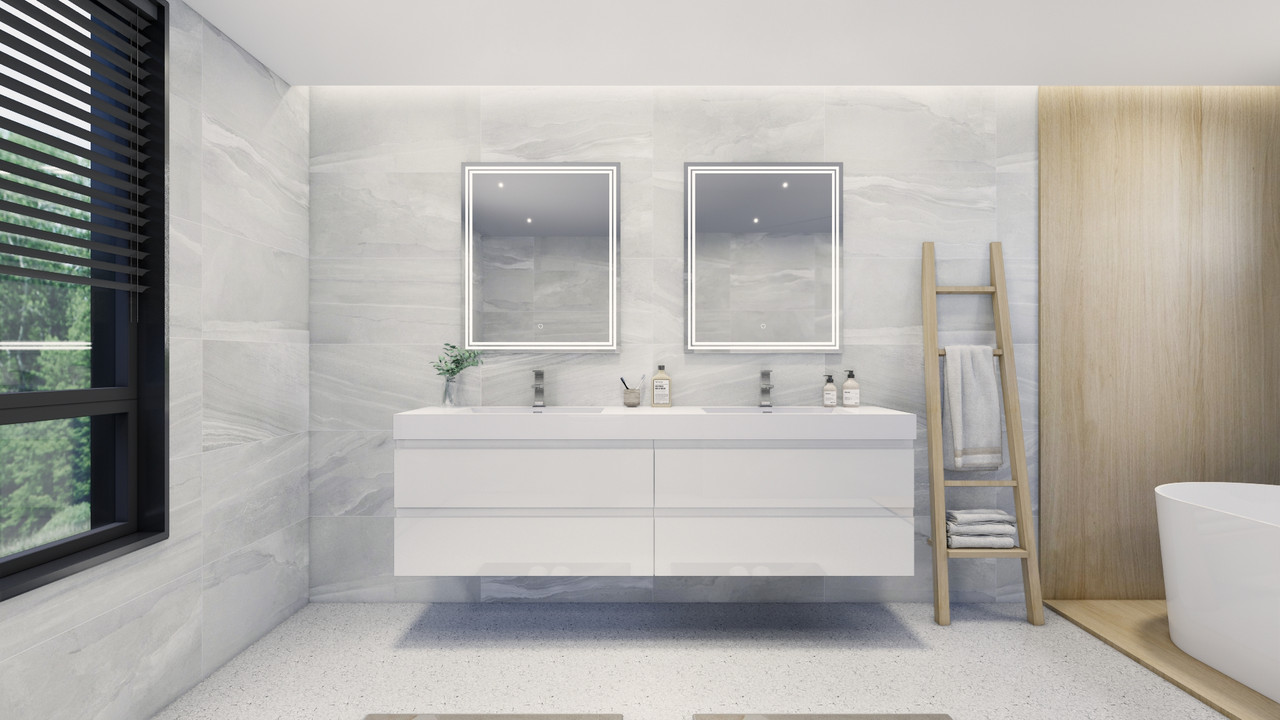
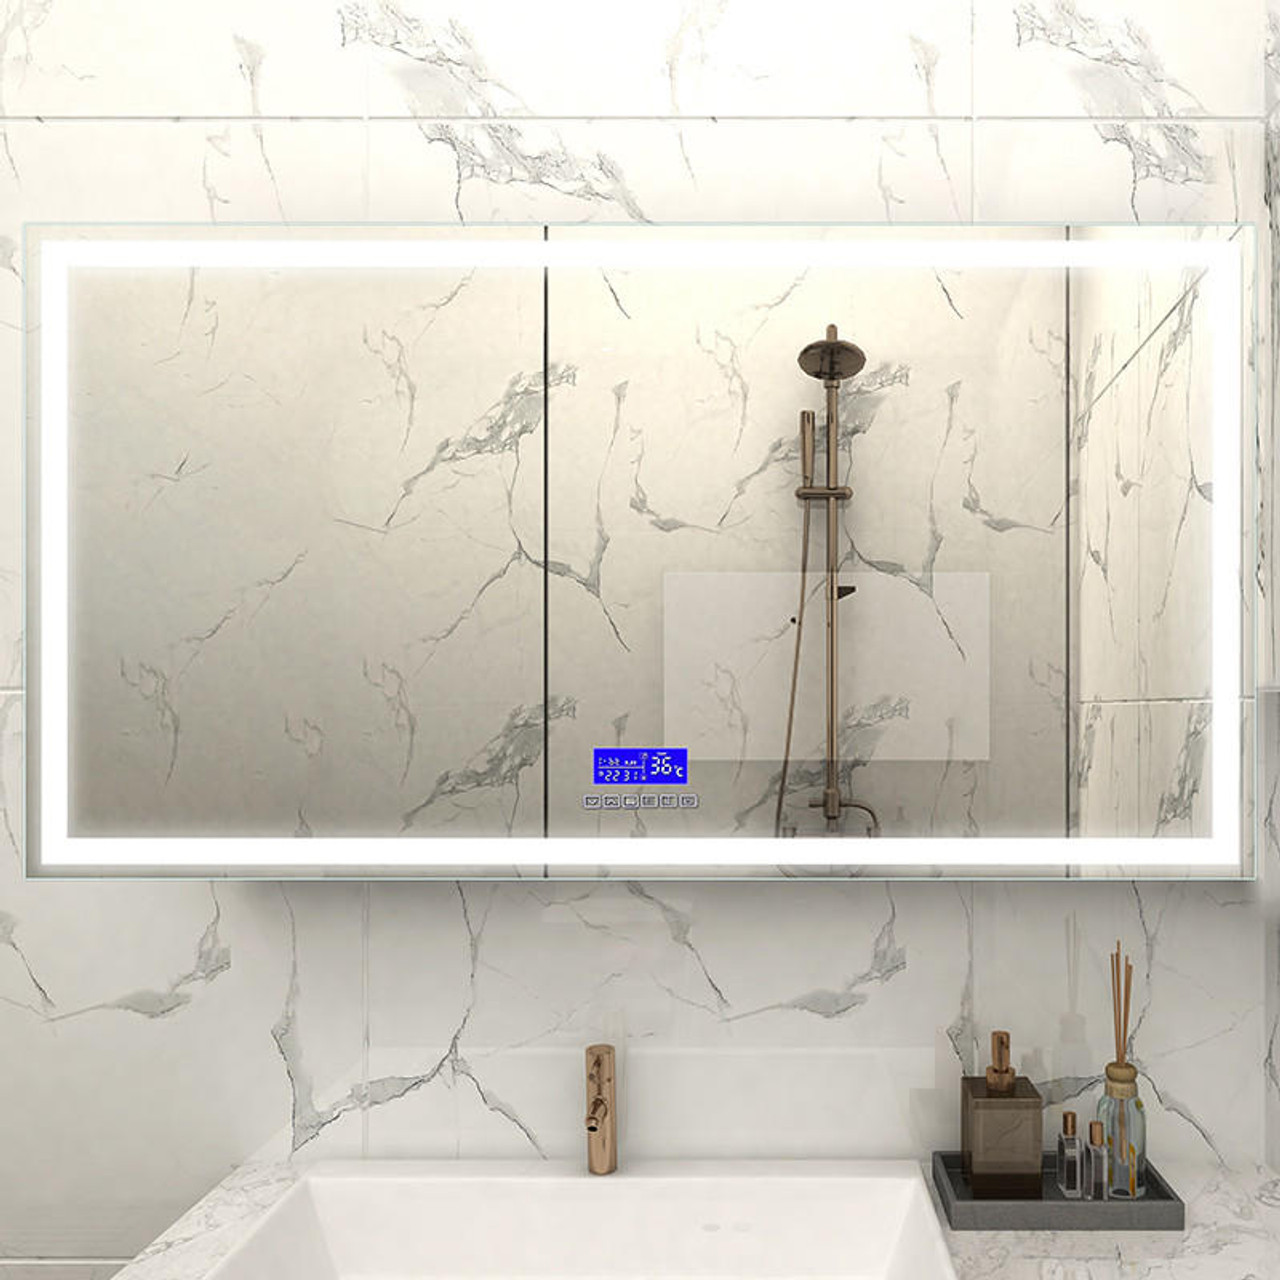
How to Install a Floating Bathroom Vanity 2026: If you want to make your bathroom look modern and stylish, installing a floating vanity is a great idea. These vanities are popular because they save space and look great. In this guide, we'll help you understand some frequently asked questions such as how sturdy and high floating vanities are, how are floating vanities mounted, standard bathroom vanity sizes, and simple steps on how to install a floating vanity like a professional.
Step-by-Step Guide to Installing a Floating Vanity like a Professional, 2026
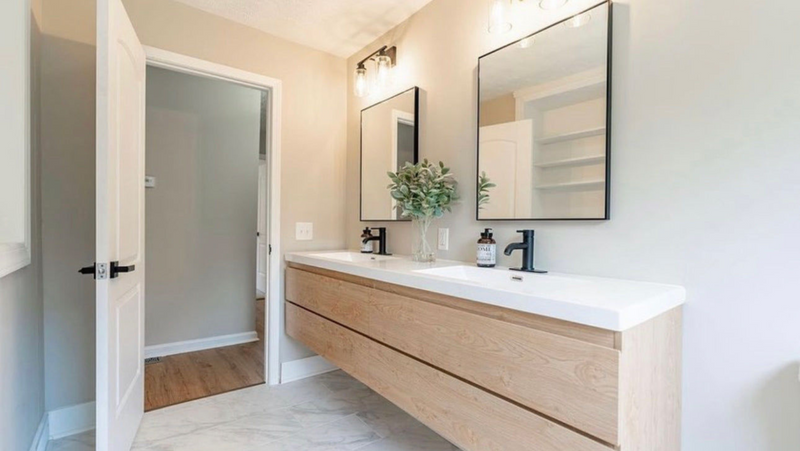
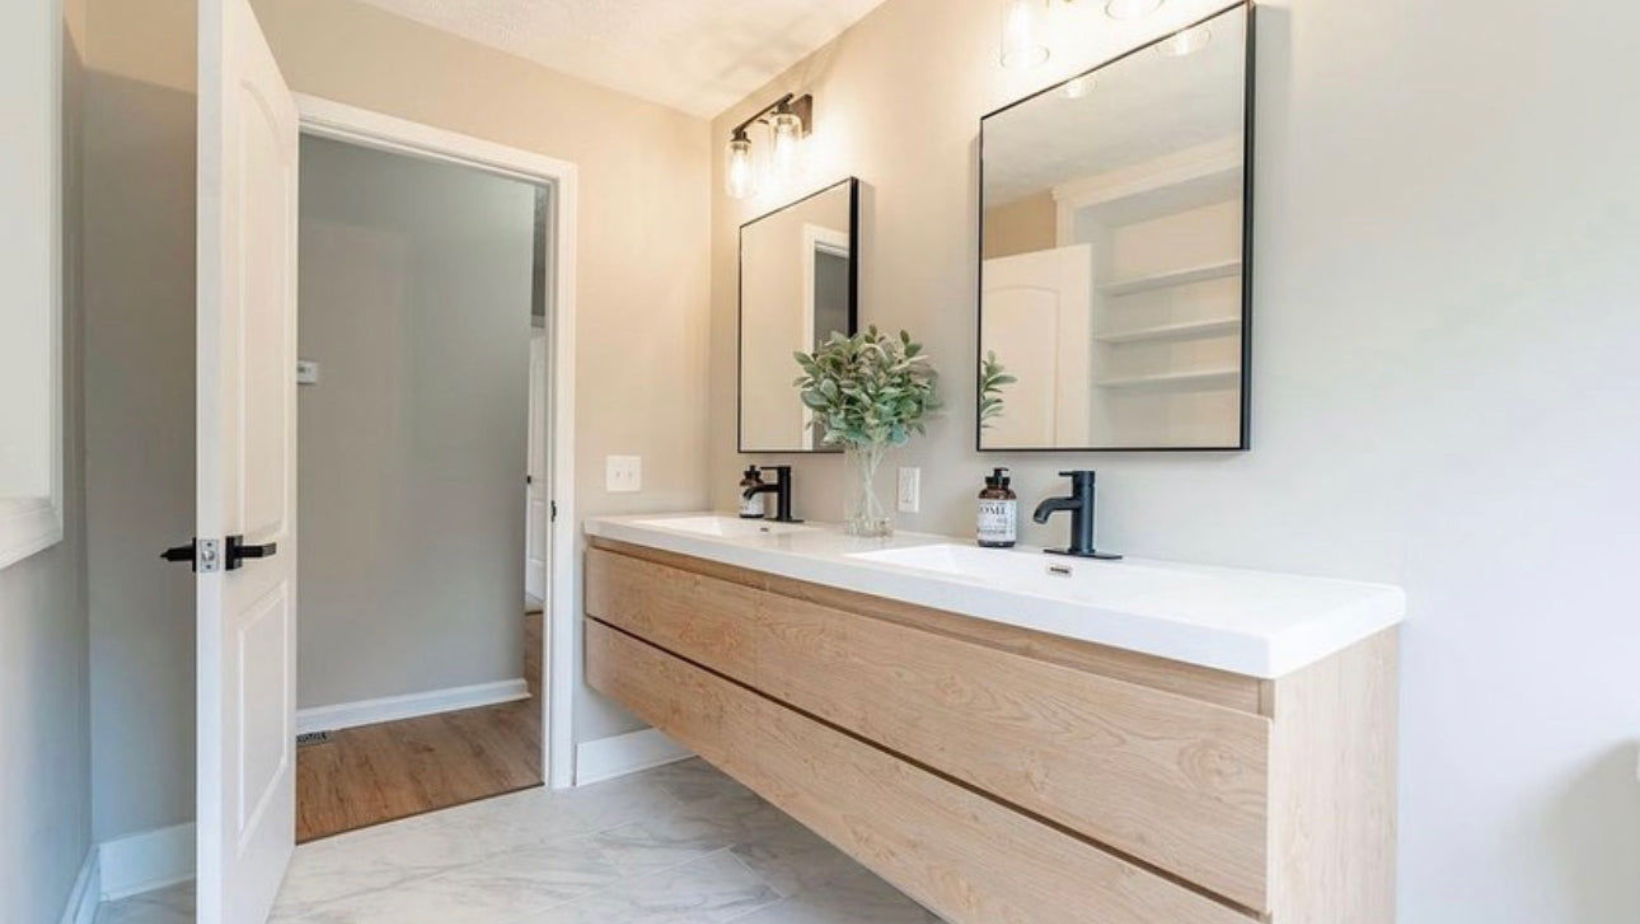
Bohemia Lina 84" Preassembled Floating Vanity in White Oak | Moreno Bath Modern Floating Vanities
Step 1: Gather Materials and Tools
How Do You Install a Floating Vanity: Before you begin, ensure you have the necessary tools and materials. You'll need:
- A floating vanity and mounting hardware
- A level
- A stud finder
- A drill with appropriate bits
- Wall anchors (if necessary)
- A measuring tape
- A pencil
- A screwdriver
- A wrench or adjustable pliers for plumbing
- Silicone caulk
Can I Install a Floating Vanity By Myself: Even if you are new to DIY home or bathroom projects, as long as you use these tools and follow these instructions carefully, you can install a floating vanity yourself. Most experts would probably rank how to mount a floating vanity or how to hang a floating vanity as a fairly beginner-level DIY project in terms of difficulty.
When Should I Hire a Professional? One tip is to follow these instructions carefully and enlist the help of a friend if needed. Additionally, if you have none of these tools, or if at any point you feel unsure about your floating vanity installation, it is best to consider the help of a professional to securely install your floating vanity.
Step 2: Remove the Old Vanity (If Applicable)
If you're replacing an existing vanity, shut off the water supply, disconnect the plumbing, and carefully remove the old vanity.
Step 2: Locate the Wall Studs
Using a stud finder, locate and mark the wall studs in the area where you plan to install the vanity. These studs provide the strongest support for your floating vanity and are a crucial part of their overall strength and support.
Step 4: Determine the Vanity Height
Measure and mark the desired height for the top of the countertop on the wall. Use a level to ensure the markings are straight and even.
Step 5: Attach the Mounting Bracket
How to Install a Floating Vanity Cabinet: Align the mounting bracket with the marked studs and height line. Use a level to ensure the bracket is straight, then drill pilot holes and attach it to the wall with the provided screws.
Step 6: Prepare the Vanity
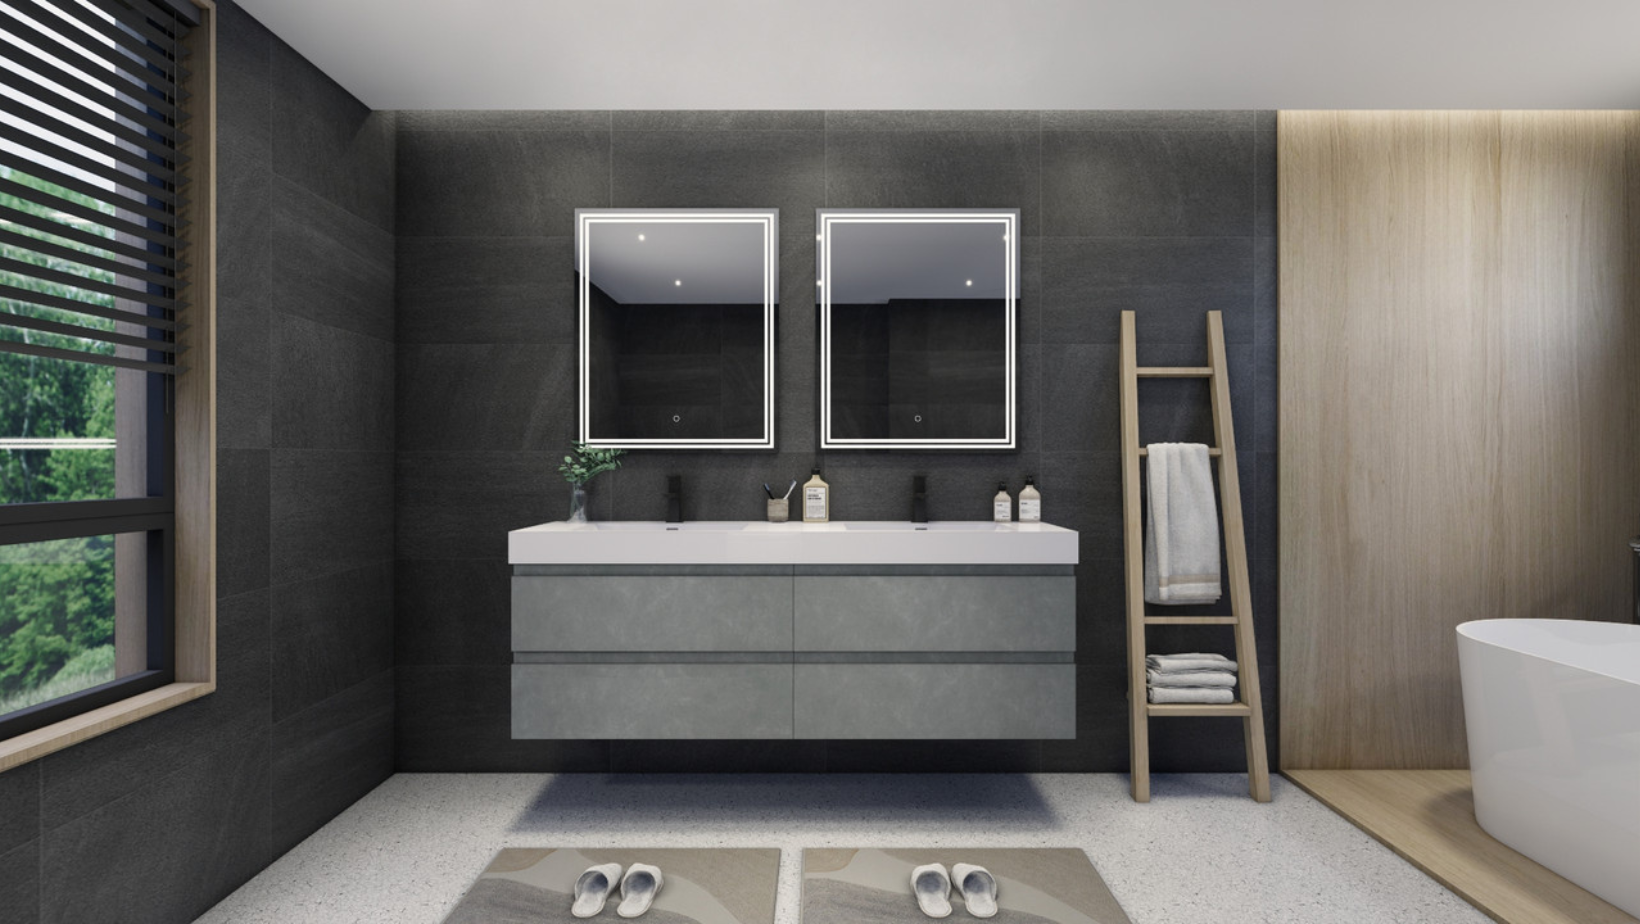
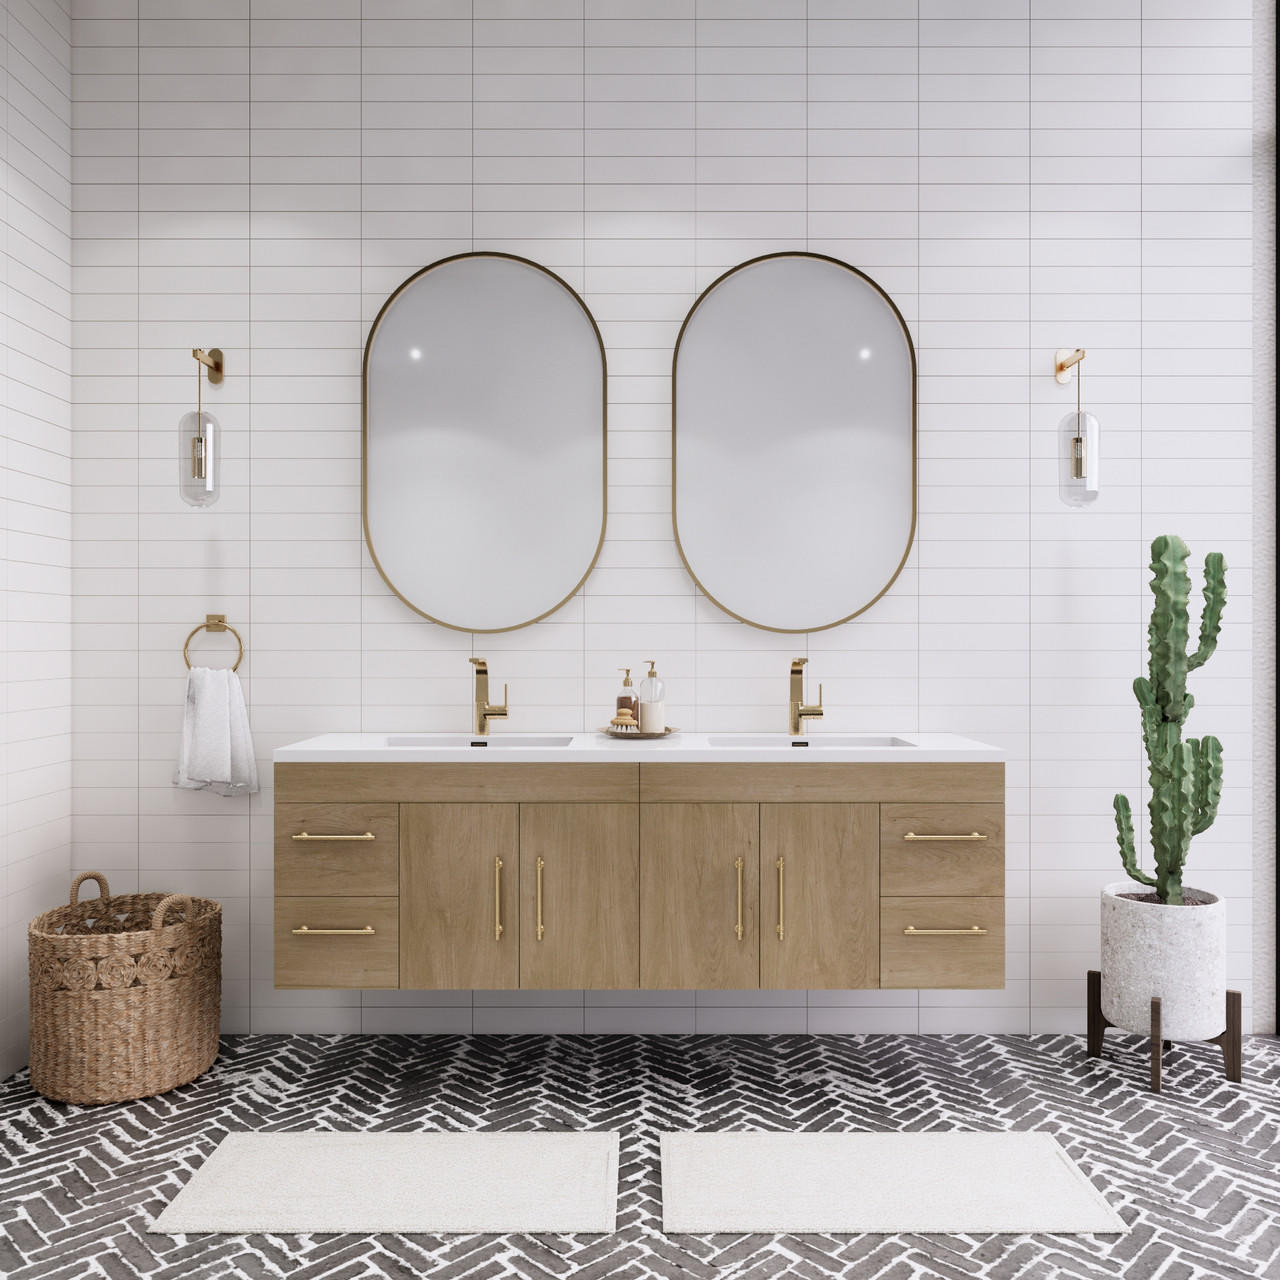
Elsa 72" Preassembled Floating Vanity with Double Sink in Oak | Moreno Bath Wall Mounted Vanities
Some floating vanities require assembly before installation. Follow the manufacturer's instructions to assemble the vanity and install the countertop as necessary.
Step 7: Attach the Vanity to the Bracket
Carefully lift the vanity and slide it onto the mounting bracket. Secure it in place with the provided hardware.
Step 8: Install the Plumbing
With the vanity in place, install the plumbing fixtures, such as the faucet, drain, and water lines. Follow the manufacturer's instructions and use a wrench or adjustable pliers to tighten connections.
Step 7: Seal the Edges
To prevent water damage, use silicone caulk to seal the edges where the vanity meets the wall.
What to use to Install Sink to Bathroom Vanity
100% Silicone Sealant, specifically labeled for "Kitchen & Bath" is what we recommend for installing your vanity sink top to your bathroom vanity. For color use Clear for the most invisible seam or White if you want it to blend with the white acrylic top and you are confident in your caulking lines.
Top Silicone Caulk Brands for Bathroom Vanity
- GE Advanced Silicone 2 Kitchen & Bath: This is the industry gold standard. It is 100% silicone, water-ready in 30 minutes, and has strong mold resistance.
- DAP Commercial Kitchen 100% Silicone: Another excellent professional-grade option.
Just make sure the silicone caulk you use is waterproof.
Step 8: Enjoy Your New Floating Vanity
With the installation complete, it’s time to enjoy the elegance and practicality of your newly installed floating vanity!
By following these straightforward steps and addressing common concerns, you can seamlessly integrate a floating vanity into your bathroom. The result will be a stylish, functional, and sturdy addition to your personal sanctuary.
For a detailed visual breakdown of how to install your floating vanity, be sure to check out these 2 videos:
Why are Floating Vanities Popular in 2026?
Benefits of a Floating Vanity:
Does a Floating Vanity Make a Bathroom Look Larger?
Floating vanities have been very popular for the last few years because they do make your bathroom look bigger.
Why Floating Vanities are In Style: Although they have been around for a while, there are now many more floating vanities with unique, sleek, and modern designs that are very appealing to those who would like to modernize their bathroom aesthetic.
Floating Vanities Help Save Storage: Additionally, floating vanities can help you save space in your bathroom by increasing storage space, and stashing bathroom linens, toiletries, and more for a cleaner bathroom look.
Explore the Fortune Floating Vanity Collection here.
How Do Floating Vanities Make Your Bathroom Look Bigger?
Yes, floating vanities can make your bathroom look bigger. By freeing up floor space and drawing the eye upward, they create an illusion of a larger, more open room. This is particularly beneficial in smaller bathrooms, where maximizing space is crucial.
Floating vanities offer numerous advantages that make them an attractive choice for modern bathroom designs:
Space-Saving Extra Storage: By eliminating the need for floor support, floating vanities create more open space, making your bathroom appear larger and less cluttered.
Easy Floor Cleaning Benefit: Because they float above the floor, floating vanities also allow for easy cleaning, as the entire floor beneath the vanity is accessible.
Versatile Design: Floating vanities come in various styles, sizes, and materials, making it easy to find one that complements your bathroom's aesthetic.
Customizable Height: Unlike traditional vanities, floating vanities allow you to choose the ideal height based on your personal preference and needs.
Are Floating Vanities Trendy?
Are Floating Vanities a Fad: Floating vanities are certainly getting trendier and more popular due to their unique and eye-catching designs, popularized with the growth of Instagram, Pinterest, and other social media channels. Although some people may believe floating vanities are a trend, bathroom experts believe that floating vanities have many benefits as described earlier that can make them a timeless piece of any modern bathroom.
As long as you choose a floating vanity that fits well with the harmony of your bathroom, you may find yourself loving your floating vanity as an essential piece of your bathroom!
Other floating vanity installation common concerns are listed below, as well as an expanded step-by-step guide on how to install a floating vanity in your bathroom.
Other Floating Vanity Installation Common Concerns
Elsa 72" Preassembled Floating Vanity in White Oak | Moreno Bath Modern Floating Farmhouse Vanities
Are Floating Vanities More Expensive?
Generally, a floating vanity will be less expensive than a freestanding vanity of the same design or model because a floating vanity has less of a body. Since is floating from the ground, there is less of the vanity body, provided that both vanity models are made of the same materials.
See more information on how much a floating vanity should cost in 2024, and other national averages for bathroom remodel and renovation costs here.
Common Floating Bathroom Vanity Dimensions
Standard Bathroom Vanity Sizes
Standard Bathroom Vanity Sizes: Typically, floating vanities and even freestanding vanities come in relatively similar heights and depths from the bathroom wall, with the biggest differentiation in dimension being in width.
Normally standard bathroom vanity width sizes range from 24", 30", 36", 42", 48", 60", 72", and 84."
Other vanity sizes may include +84" which means that it is a much bigger vanity, typically reserved for larger master bathrooms.
General Height of Bathroom Vanity
The general height of a bathroom vanity is between 32 and 36 inches, with 34 inches being the most common. See below for specific breakdown of average or recommended floating bathroom vanity height. This height is considered to be comfortable for most people, but it is important to choose a vanity that is the right height for you and your family members.
How High are Floating Vanities?
How High Do You Mount a Floating Vanity:The old-school standard or classic height for floating vanities is 30 to 32 inches. Today, the installed height of a floating vanity can range between 28 and 36 inches from the floor to the top of the countertop. Ultimately, how high you mount a floating vanity or how high off the ground should a floating vanity be, depends on your personal choice.
Bathroom Vanity Height Standard: Between 28 to 36 inches from the floor to the top of the countertop.
Standard Height of Bathroom Vanity: 28 - 36 inches from the floor countertop top.
How High Should a Floating Vanity Be Off The Floor:
For Tall Families: How Tall Should My Floating Vanity Be: If you or your family are taller, it is recommended to try a vanity height that is slightly higher, as the additional inches can help make access to bathroom items easier. Increasing what height should your floating vanity be by a few inches can also put less of a strain on your back.
Pro Floating Vanity Installation Tip: It is always recommended to measure and simulate how tall your floating vanity will be before you make the permanent installation.
How Wide are Floating Vanities?
On average bathroom vanities, floating or freestanding range from 24 inches to 72 inches.
In addition, both floating or freestanding vanities can vary from single sink design which usually ranges between 30 to 48 inches, while double sink vanities range between 60 to 72 inches.
While double-sink vanities take up more space, they can be a dramatic and gorgeous focal point of your bathroom or master bathroom. It also helps do wonders for couples who share a bathroom, where each partner has the added luxury of having their own sink.
How Deep are Floating Vanities?
How Deep is a Bathroom Vanity?: The standard bathroom vanity depth is 21 inches deep.
Most bathroom vanities, floating or freestanding, range from 17 to 24 inches deep.
Recommended Floating Vanity Depth for Smaller Bathrooms:
For smaller bathroom spaces, experts recommend a vanity that is 18 inches in depth.
Benefits of a Shallow Floating Vanity: One benefit of a shallower vanity depth is that it allows you to open your cabinet doors and drawers much more easily, giving you better overall bathroom storage flow. Of course, with a more shallow vanity, you are sacrificing a bit of storage space for this added ease of flow.
How to Hide Pipes Under Floating Vanity
Having an exposed waste pipe or plumbing underneath your vanity can be an aesthetic element, such as the growing “exposed plumbing” style.
But if you have visible pipes underneath your floating vanity that you want to hide, these are the 5 best ways you can conceal them:
- Use the vanity cupboard to conceal it using a p-trap or an s-trap
- Use a bottle trap
- Use a chrome-plated trap or copper trap that is chrome plated
- Paint your exposed vanity pipes
How High For Plumbing for Floating Vanity
Floating Vanity Plumbing Height: To determine the plumbing height for your floating vanity, first consider how a classic standard floating vanity height lies around 30 to 32 inches.
Today, these measurements have loosened, and can vary to personal preference to range between 28 to 36 inches. With this in mind, you would want to first measure how tall you want to mount your floating vanity, and then work from there to see how your floating vanity and plumbing will coordinate.
Some major key points to consider for your vanity plumbing height:
Vanity sink height: Consider the depth of the sink basin that will be installed in the vanity. The combined height of the vanity and sink should be comfortable for daily use.
Vanity drain height: The rough-in height for the drain pipe in the wall is usually between 18 to 20 inches from the floor. This allows for adequate space under the sink and proper drainage. However, always refer to the manufacturer's recommendations for the specific vanity and sink model you are using.
Vanity water supply lines height: Water supply lines are typically roughed in at about 22 to 24 inches from the floor. This height ensures that they will connect easily to the sink's shutoff valves and faucet without excessive bending or kinking. Again, consult the manufacturer's guidelines for your specific vanity and faucet.
P-trap: The P-trap connects the drain pipe to the wall, and its height should be adjustable to align with the drain outlet. Make sure to leave enough space under the vanity for easy access and maintenance.
It is always a good idea to double-check the installation instructions provided by the vanity, sink, and faucet manufacturers, and to follow them as instructed for best results.
Are Floating Vanities Hard to Install?
A floating vanity will take a little more work to install than a freestanding vanity since a floating vanity will require you to brace the wall securely to the wall.
Although this may be a challenge for those new to DIY home projects, with the right tools, materials, and clear understanding of the process as outlined below, you can successfully and securely install a floating vanity.
If you are not comfortable, it is always advisable to hire a professional to ensure that your new beautiful vanity is installed correctly and safely for years to come.
See how much vanity installation costs here.
How to Install a Heavy Floating Vanity
Even if a vanity is large, bulky, or seemingly heavier than normal, you should be able to install it safely provided you take proper installation steps and precautions as outlined in the manufacturer’s guide or instructions or using the directions mentioned above.
If you are still unsure or want to increase the support for your heavy floating vanity, it is recommended to consult with a professional to consider your best options.
How to Install a Floating Vanity on Tile Wall
Elsa 42" Inch Floating Bathroom Vanity in Oak | Moreno Bath Modern Floating Vanities
Overall, the process of installing a floating vanity is similar for both regular walls and tile walls, with a few key differences. Let's start with the similarities:
Finding Studs: In both cases, locating and utilizing wall studs is crucial for providing adequate support for the vanity. This ensures a secure and safe installation.
Marking Vanity Desired Height: Measuring and marking the desired height of the vanity on the wall is essential for both types of installations to ensure level placement and proper alignment with plumbing and electrical connections.
Assembling Vanity: Assembling the vanity according to the manufacturer's instructions is a common step for both regular and tile wall installations.
Connecting Plumbing: Connecting the plumbing lines (faucet, drain, water supply) is required for both types of installations, following the manufacturer's instructions and local plumbing codes.
Differences in Installing a Floating Vanity on a Tile Wall vs. Regular Wall
Mounting Hardware: While the mounting bracket concept is similar, tile walls might require specialized wall anchors designed for use with tile to ensure a secure hold. Regular walls typically use standard wood screws for attaching the bracket to the studs.
Drilling: Installing a vanity on a tile wall requires drilling through the tile to reach the studs or to install wall anchors. This necessitates using specialized drill bits designed for tile to avoid cracking or damaging the tile.
Sealing: Sealing the edges of the vanity where it meets the tile wall is particularly important to prevent water damage and ensure a long-lasting installation.
In summary, while the core steps of installing a floating vanity remain the same for both regular and tile walls, the specific tools and techniques required for mounting and securing the vanity differ due to the nature of the wall material.
Step by Step: How to Install Floating Vanity on Tile Wall
- Prep Work: Locate studs using a stud finder for maximum support. Mark desired vanity height, ensuring level positioning. Assemble vanity following manufacturer instructions.
- Mounting: Attach mounting bracket to wall studs at marked height. Use appropriate screws and wall anchors if studs aren't available. Carefully lift and slide the vanity onto the mounted bracket.
- Connections: Connect plumbing: faucet, drain, and water supply lines. Secure vanity to wall with additional screws through concealed areas.
- Finishing Touches: Apply silicone sealant along edges for a watertight seal. Reattach drawers and doors. Enjoy your new floating vanity!
Are Floating Vanities Safe?
How Safe is a Floating Vanity: Floating vanities are safe and can last for years to come if they are properly installed and maintained. To ensure your vanity is safe and secure, use the appropriate mounting hardware, to attach the vanity to wall studs for strong support.
Always read the manufacturer’s installation instructions and guidelines. Once the proper installation is done, a floating vanity is as safe as any freestanding floor-mounted vanity.
Do You Have to Maintain or Inspect a Floating Vanity for Safety?
Signs You Need to Secure or Maintain Your Floating Vanity: It is good practice to regularly inspect your floating vanity for any signs of wear or damage, which can include:
- Loose screws
- Weakened wall support
If you see any of these issues, be sure to address the problems immediately. If you have any doubt, it is always recommended to consider consulting with a professional to make sure that your floating vanity is safe and securely installed for years to come.
Are Floating Vanities Sturdy?
Fortune 84" Floating Vanity in Gloss White | Moreno Bath Modern Floating Vanities
One common concern among potential buyers is the sturdiness of floating vanities. Rest assured that when properly installed and supported, these vanities are just as sturdy as their floor-mounted counterparts.
If you are particularly concerned on the sturdiness and safety of your wall-mounted vanity, try using a french cleat during the installation process for added strength and protection, and safety for your floating vanity.
How Much Weight Can a Floating Vanity Hold?
A floating vanity of average size can safely hold up to 220 lbs.
An average-sized floating vanity is one that is around 24 - 60 inches in length, 18 - 21 inches in depth, and made of MDF, MFC, or Plywood.
Most floating vanities can support the weight of the countertop, sink, and standard bathroom items like toiletries and towels. However, it is essential to check the manufacturer's guidelines for specific weight limitations for the particular model you have chosen.
Can a Child Sit on a Floating Vanity?
For most kids under 100kg or 220 lb, kids can sit evenly and steadily on the countertop – but it is not recommended for kids to sit on a floating vanity as it is not meant to be sat on.
How are Floating Vanities Mounted?
How to Anchor a Floating Vanity: Floating vanities are mounted to the wall using a combination of brackets, screws, and wall anchors, if necessary. The how to support a floating vanity process typically involves the following steps:
Locate wall studs: Using a stud finder, identify and mark the wall studs in the area where you plan to install the vanity. Attaching the vanity to the studs provides the strongest support.
Determine the desired height: Measure and mark the height at which you want to install the vanity, considering factors such as user height, accessibility, and personal preference.
Attach the mounting bracket: Align the mounting bracket with the marked studs and height line on the wall. Use a level to ensure the bracket is straight and even. Drill pilot holes into the studs and then attach the bracket using the appropriate screws provided by the manufacturer.
Prepare the vanity: Some floating vanities may require assembly before installation. Follow the manufacturer's instructions to assemble the vanity and install the countertop, if necessary.
Attach the vanity to the bracket: Carefully lift the vanity and slide it onto the mounting bracket. Secure it in place with the provided hardware, ensuring it is level and properly aligned.
Install plumbing: After mounting the vanity, install the plumbing fixtures, such as the faucet, drain, and water supply lines, following the manufacturer's guidelines.
Seal edges: Apply silicone caulk to seal the edges where the vanity meets the wall to prevent water damage and maintain a clean appearance.
By following these steps and adhering to the manufacturer's instructions, you can ensure a secure and stable installation for your floating vanity. If you're not comfortable with the installation process, consider hiring a professional to ensure the job is done up to par.
Other Miscellaneous How to Install a Floating Vanity FAQ
How to Install Floating Vanity Without Studs
It is highly recommended to always try to use studs to install a floating vanity, as strong and stable bracing is needed to secure the mounted vanity in place. In most cases, drywall anchors by themselves are not recommended nor suitable for mounting a floating vanity to the wall.
An alternative is to cut a piece of drywall and add blocking between studs to serve as stable bracing for the floating vanity. Other ideas can involve using French cleats to help secure the vanity. In most, if not all, cases, you would have to use the studs to securely mount the vanity in place.
How to Anchor a Floating Vanity on a Tile Wall
How to Install a Floating Vanity on Tile Walls: To anchor a floating vanity to a tile wall, you would have to drill mounting holes through the tile aligned with your wall studs to stabilize the vanity. It is recommended to use a carbide-tipped drill bit or a diamond-tipped hole saw designed for tile to drill holes through the tile at the marked locations.
Use the same instructions outlined above on how to install a vanity, the only difference is that you would be drilling through tile, not wood, drywall, or any other material for your wall.
Other tips for installing a floating vanity to a tile wall:
It is also a good idea to apply painter's tape to the tile to prevent it from chipping, and to start with a smaller bit to create pilot holes before enlarging them to the appropriate size.
Explore Moreno Bath All Bathroom Vanities here.
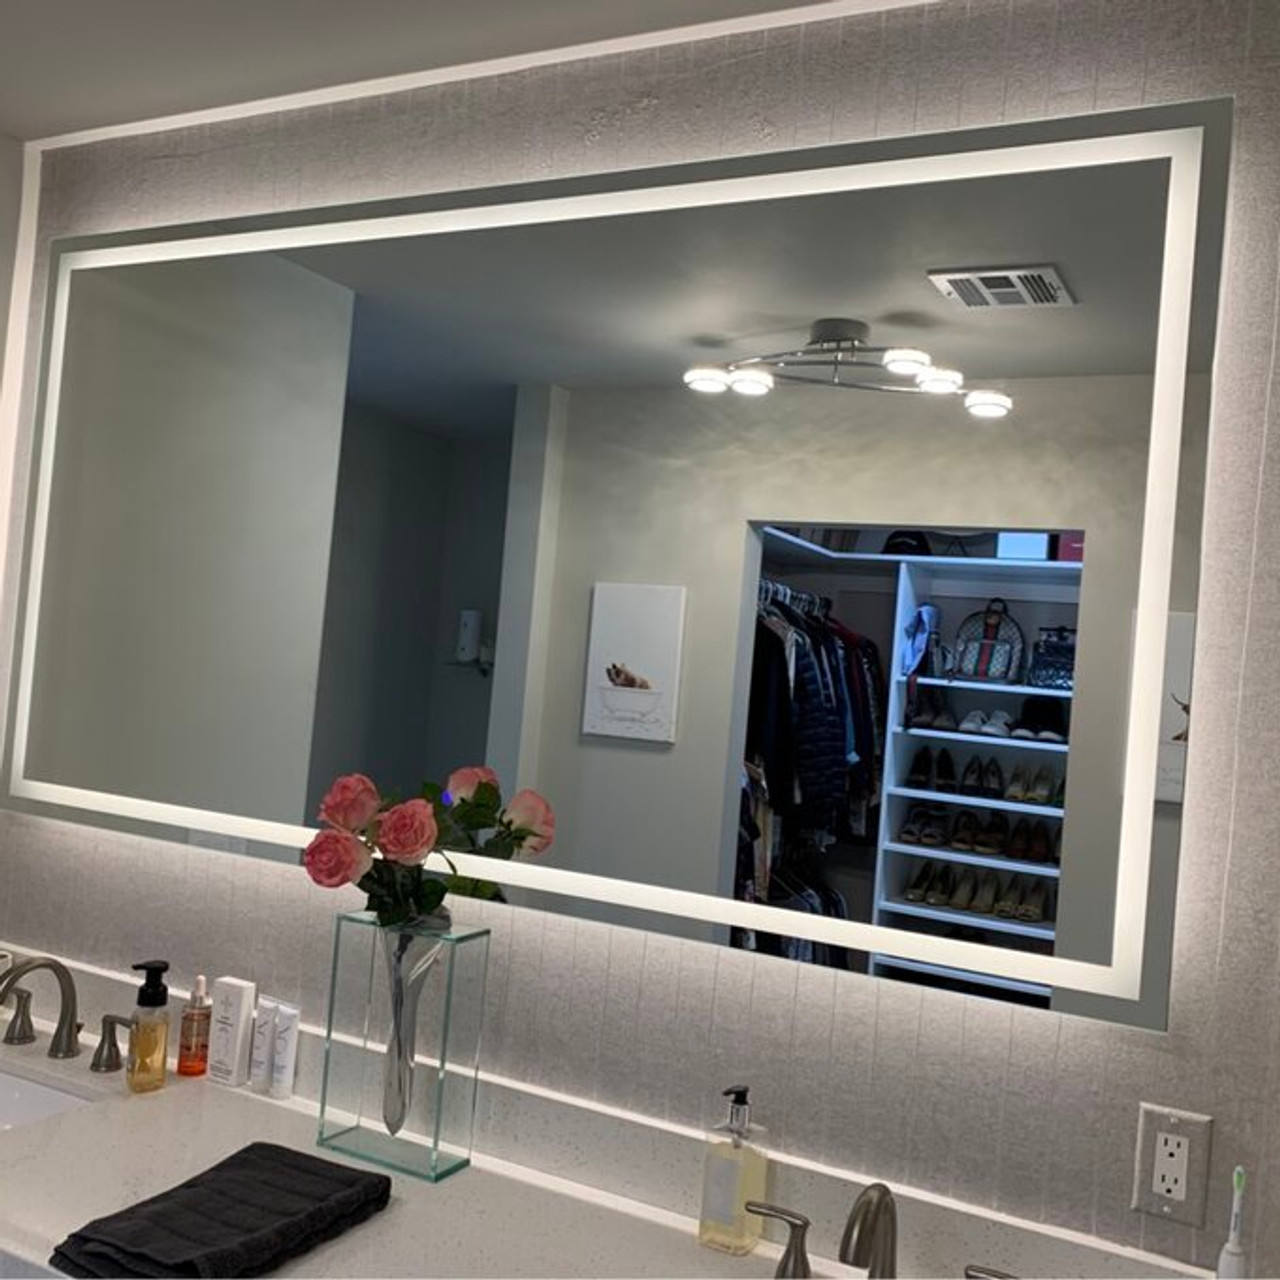
How Far From Wall for Floating Backlit Vanity Mirror
Moreno Bath Florence LED Backlit Mirror for Bathroom Vanity Ambient Light | Moreno Bath
Most experts recommend placing the mirror about 2 to 4 inches away from your wall for an even, diffused ambient light glow. Doing so enhances the space without casting too much of a harsh shadow.
Although this is an average or general recommendation, the best distance for a floating backlit vanity mirror and your wall can vary depending on the size of the mirror, the intensity of the backlight, and your personal preference.
For a more accurate assessment, consider these factors when determining the distance:
Size of your bathroom vanity mirror: Larger bathroom mirrors may require more space between the wall and the mirror to create a balanced, well-distributed backlight.
The desired intensity of your mirror backlight: If the backlight is very bright, you may want to increase the distance to allow the mirror’s backlit light to spread more evenly for a more diffused glow.
Personal preference: Some people prefer a subtle glow, while others want a more dramatic effect. Experiment with different distances to find what suits your taste and the overall aesthetic of your bathroom, as varying the distance between the wall and mirror light can vary the effect.
Functionality: Make sure that the distance allows for enough light to illuminate your face sufficiently while using the mirror for grooming or makeup application.
Twinkle 76" LED Lit Bathroom Vanity Mirror | Moreno Bath Vanities
It is always recommended to use the installation instructions provided by the mirror’s manufacturer and to follow these instructions thoroughly, as they may offer best practices for their product.
More Essential Floating Vanity Articles
How Much Does a Bathroom Remodel Cost in 2024? National Averages for Vanities, Remodels & More
Is it Time to Replace Your Old Vanity? Top 3 Most Alarming Bathroom Vanity Problems to Watch Out For
Best Modern Vanity Brands of 2024: Best Vanities for Storage Space

