Replacing Your Bathroom Vanity in 2025, 10-Step-Guide: Replacing your bathroom vanity? Whether you're a seasoned DIY enthusiast or a first-timer seeking clear instructions, here's a quick and thorough guide on how you can replace your bathroom vanity in 2025 like a professional.
Remember, for tasks involving plumbing or electrical work, consulting a licensed professional is highly recommended.
Bethany 84" Mid-Century Modern Floating Vanity in Light Oak | Moreno Bath Modern Floating Vanities
Revamping your bathroom to something more modern can help free up space, clutter, and add a new sense of modernity, peace, and organization to your bathroom.
How to Replace Your Bathroom Vanity 2025
Safety, Tools, & Required Materials
Safety First: Gather Your Tools and Materials Before diving in, ensure you have the necessary equipment for a safe and efficient project. Here's a basic checklist:
Tools: Adjustable wrench, screwdrivers (flathead and Phillips), tape measure, utility knife, level, bucket, rags, safety glasses.
Materials: New bathroom vanity (including countertop if replacing), sink faucet, drain pipes and fittings (compatible with new vanity and sink), silicone caulk, painter's tape, shut-off valves (for hot and cold water supply lines), optional plumber's putty.
10-Step Professional Guide: How to Replace Your Bathroom Vanity
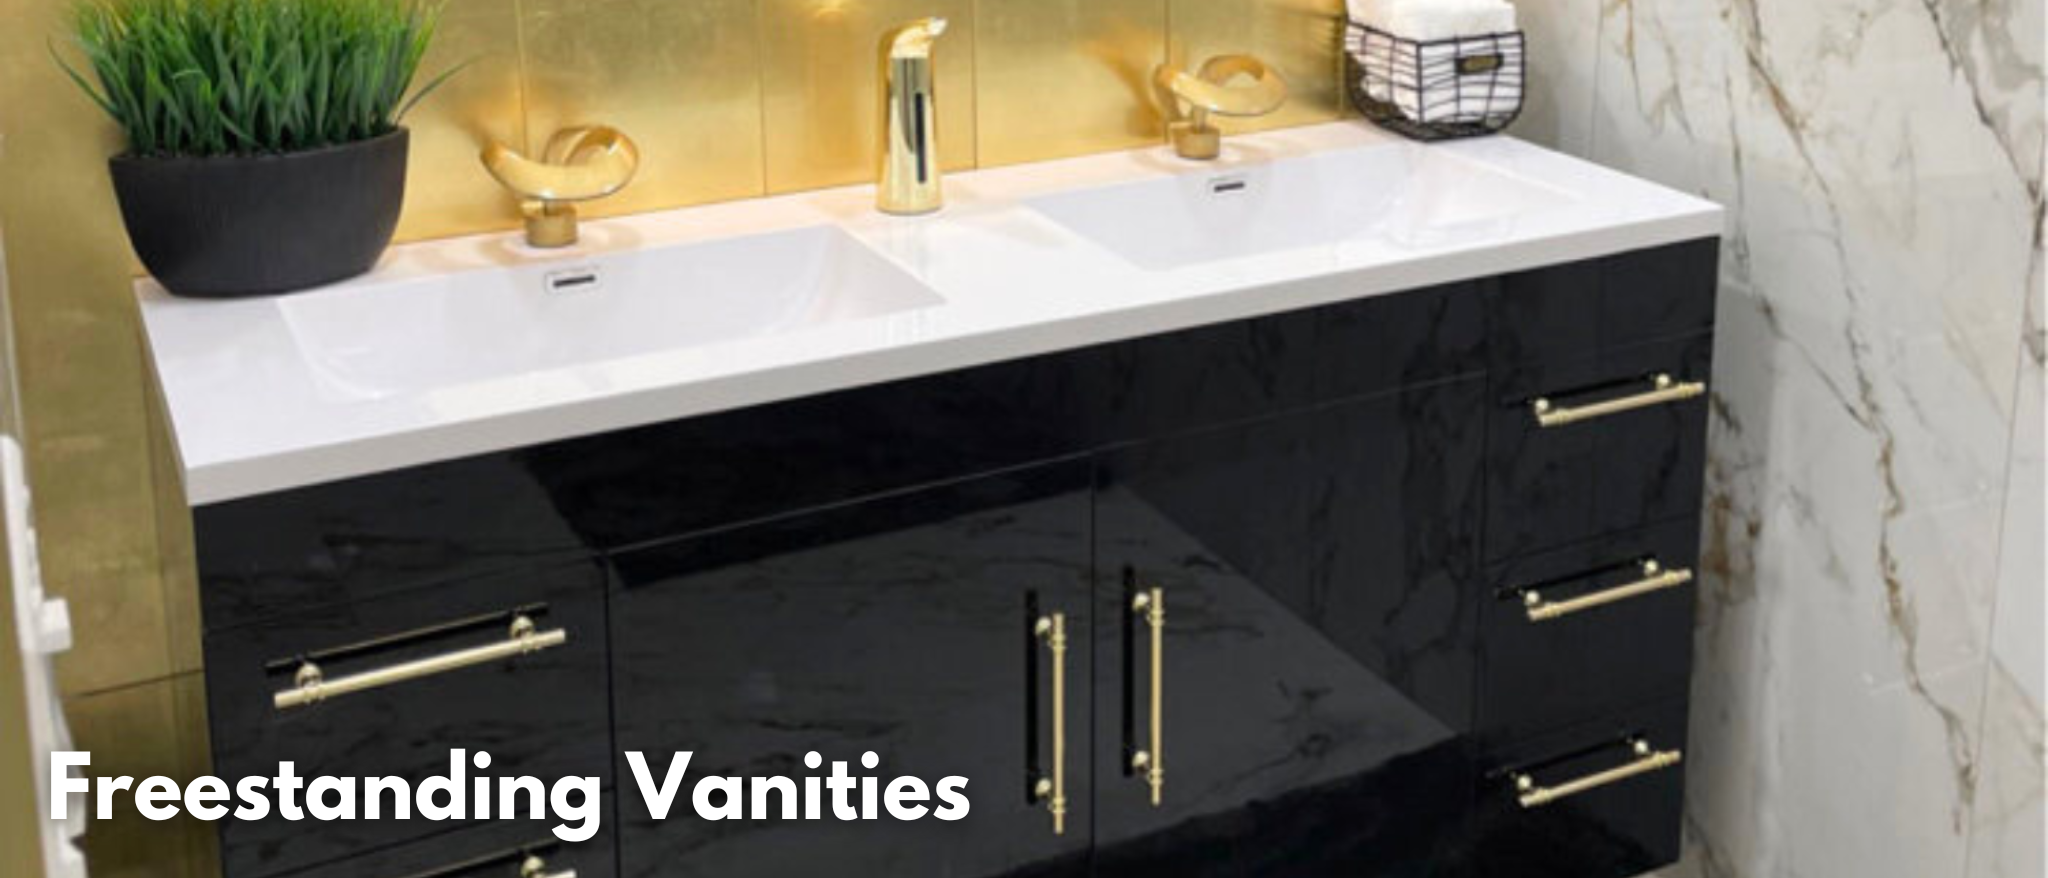
Max 72" Modular Floating Vanity in Gloss Black | Moreno Bath Modern Floating Vanities
Step 1: Turn Off the Water Supply
Locate the shut-off valves for the hot and cold water supply lines beneath your existing vanity. Turn them clockwise until they stop completely, shutting off the water flow to the sink. Use a bucket to catch any residual water that drains from the pipes.
Step 2: Disconnect the Plumbing Sink Drain
Underneath the sink, loosen the nuts that secure the drainpipe to the P-trap (the U-shaped pipe). Once loose, detach the drainpipe and place it in the bucket to catch any remaining water. Water Supply Lines: Using an adjustable wrench, carefully disconnect the hot and cold water supply lines from the shut-off valves and the faucet. Be prepared for some water to drain – place the bucket underneath to collect it.
Step 3: Dismantle Existing Vanity Mirror and Hardware
Begin by removing any fixtures attached to the vanity, such as the mirror, light fixtures, or towel racks. Carefully place them aside for potential reuse or proper disposal.
Disconnect Cabinetry: Locate the screws or bolts securing the vanity to the wall. Unscrew or unbolt them carefully, ensuring someone supports the vanity to prevent it from falling forward.
Plumbing Access: Depending on your vanity design, there might be a panel at the back for plumbing access. Remove this panel if present, providing easier access to the disconnected pipes.
Step 4: Remove Old Vanity
Once all connections are severed and the vanity is disconnected from the wall, carefully pull it away from the wall studs. Have a helper assist you if the vanity is heavy.
Step 5: Prep the Space
If you're not replacing the flooring or wall tiles, use painter's tape to protect them from potential scratches or debris during the installation process.
Step 6: Install the New Vanity
Position your new vanity: Carefully maneuver the new vanity into place, ensuring proper alignment with the wall and maintaining a level position.
Secure the Vanity: Using screws or bolts appropriate for your wall studs, securely fasten the vanity to the wall at designated locations. Double-check for levelness throughout the installation process.
In-Depth Guide on How to Install a Floating Vanity like a Professional
For more in-depth information on installing your vanity, especially for floating or wall-mounted bathroom vanities, be sure to check out our dedicated page on How to Install a Floating Vanity Like a Professional here.
Step 7: Connect the Plumbing Faucet Installation
Install the new faucet onto the designated holes in the countertop, following the manufacturer's instructions. Ensure all connections are secure and watertight. Water Supply Lines: Using new shutoff valves and following local plumbing codes, connect the hot and cold water supply lines to the new faucet. Tighten the connections securely with an adjustable wrench. Drainpipe Reassembly: Reassemble the drainpipe using the new P-trap (if included with the vanity) and following the manufacturer's instructions. Ensure all connections are secure and leak-proof.
Step 8: Test for Leaks
Once all plumbing connections are complete, turn on the shut-off valves beneath the sink to allow water flow. Carefully inspect all connections for leaks. Tighten any loose connections or use plumber's putty (if applicable) to address minor leaks.
Step 9: Install Vanity Top
If you're replacing the bathroom vanity countertop as well, carefully position it onto the new vanity, ensuring proper alignment with the backsplash and sink cutout. Follow the countertop manufacturer's recommendations for securing it to the vanity base.
Step 10: Finishing Touches & Caulking
Apply a bead of silicone caulk around the perimeter of the countertop where it meets the wall. Smooth the caulk with a wet finger for a professional finish. Install Hardware: Reinstall the mirror, towel racks, or any other fixtures.
Breathe New Confidence to Your Bathroom
Congratulations! By following these steps, you've successfully replaced your bathroom vanity safely and securely. Take a moment to admire your handiwork – a true modern masterpiece.
Your new vanity not only elevates your bathroom's design, but also your home's value. Remember, a successful bathroom vanity replacement hinges on meticulous planning, the right tools, and a clear understanding of the process. Relish the satisfaction of a job well done, and enjoy your newly revamped bathroom.

